
Avoid wasting time or overpaying for business legal solutions!
Secure Your Business with Professional Legal Services.

- 4.6/5 stars
- DIPP46201
- ISO 9001:2015
Secure Your Business with Professional Legal Services.

Draft a contract yourself using our well defined templates, or let our expert lawyers draft a secure and reliable contract for you
Make your Contract
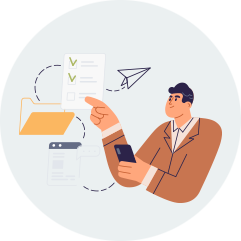
Get our lawyer to review and suggest changes in legal documents you already have!
Upload Your Contract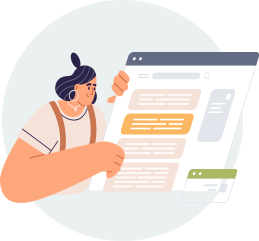

You can now protect your IPR, create solutions for employee issues, create contracts with the help of our virtual expert lawyer, e-sign and manage your agreements all in one place.

Our team of experienced lawyers will work with you to understand your business and assist you with professional legal advice on your business issue and help you grow your business legally stronger

Our expert corporate lawyer can help you identify potential risks and opportunities in your business and prepare contracts, policies, IPR portfolio today to safeguard you in future!

By drafting contracts and policies for the entire employee lifecycle, training your HR on handling issues within the organisation, and providing virtual legal support, we can help you create a healthy workplace.

By getting your contracts vetted, you'll protect yourself and your interests from being exploited by the other party and will be able to negotiate more favourable terms.

By tailoring your contracts to your specific needs and goals, we can ensure that you avoid pitfalls and problems. You can use our Do It Yourself templates or have a contract drafted by our expert lawyers.

We are here to help you protect your brand's intellectual property and prevent others from stealing your goodwill.

Director at ISC IT Services Pvt. Ltd., Delhi
"Working with the contract bazar team was a great experience.They were very prompt, professional and helped us in drafting the documents based on our company’s requirments.

Managing Director at RISO India, Delhi
“The customized contractual service of contract bazar is amazing they helped me get an effective contract without delay and the team ensures that all work is done.

Director Avis E Solutions pvt ltd, Noida
“I was looking for urgent legal help in a client deal and Contract Bazar helped me in vetting the documents and ensuring I was making the right decision.

Director at Theos food Pvt. Ltd., Delhi
“I had to draft an NDA
with my employee. I
could do it in minutes and
also got it signed using
contract bazar. Excellent
Experience!


Lex Mores Tech Pvt. Ltd
Dynamic House, Block 1, Sector 41, Noida, UP, 201301
Trusted & Secure